Your harp’s pedal caps, the black rubber pads that cover the tip of each pedal, are designed to give your feet traction as you move the pedals. Over time, and the more you use them, pedal caps wear away. In the case of the slip-on type, they can also split or crack, giving your harp a tired look. Fortunately, pedal caps are reasonably priced and replacing them can easily be done by the harp owner.
Screw-on vs. Slip-on
As the name says, screw-on pedal caps are attached to the pedal via a screw from underneath. They cover just the top of the pedal where your foot goes. Slip-on pedal caps cover the whole tip of the pedal, and are slightly stretched to fit tightly over the pedal. Screw-on pedals are standard on Lyon & Healy, Salvi, and Swanson harps, though some Lyon & Healys use the slip-on type. Venus and Camac Harps use the slip-on types, as do old Wurlitzer harps. When replacing pedal caps, your best bet is to order new ones from your harp’s manufacturer. Lyon & Healy sells a slip-on cap, but I’ve found that they are too tight on Venus pedals, and prone to splitting. Lyon & Healy slip-ons do work well on Wurlitzers, however, and Lyon & Healy screw-on caps can be used on Swansons.
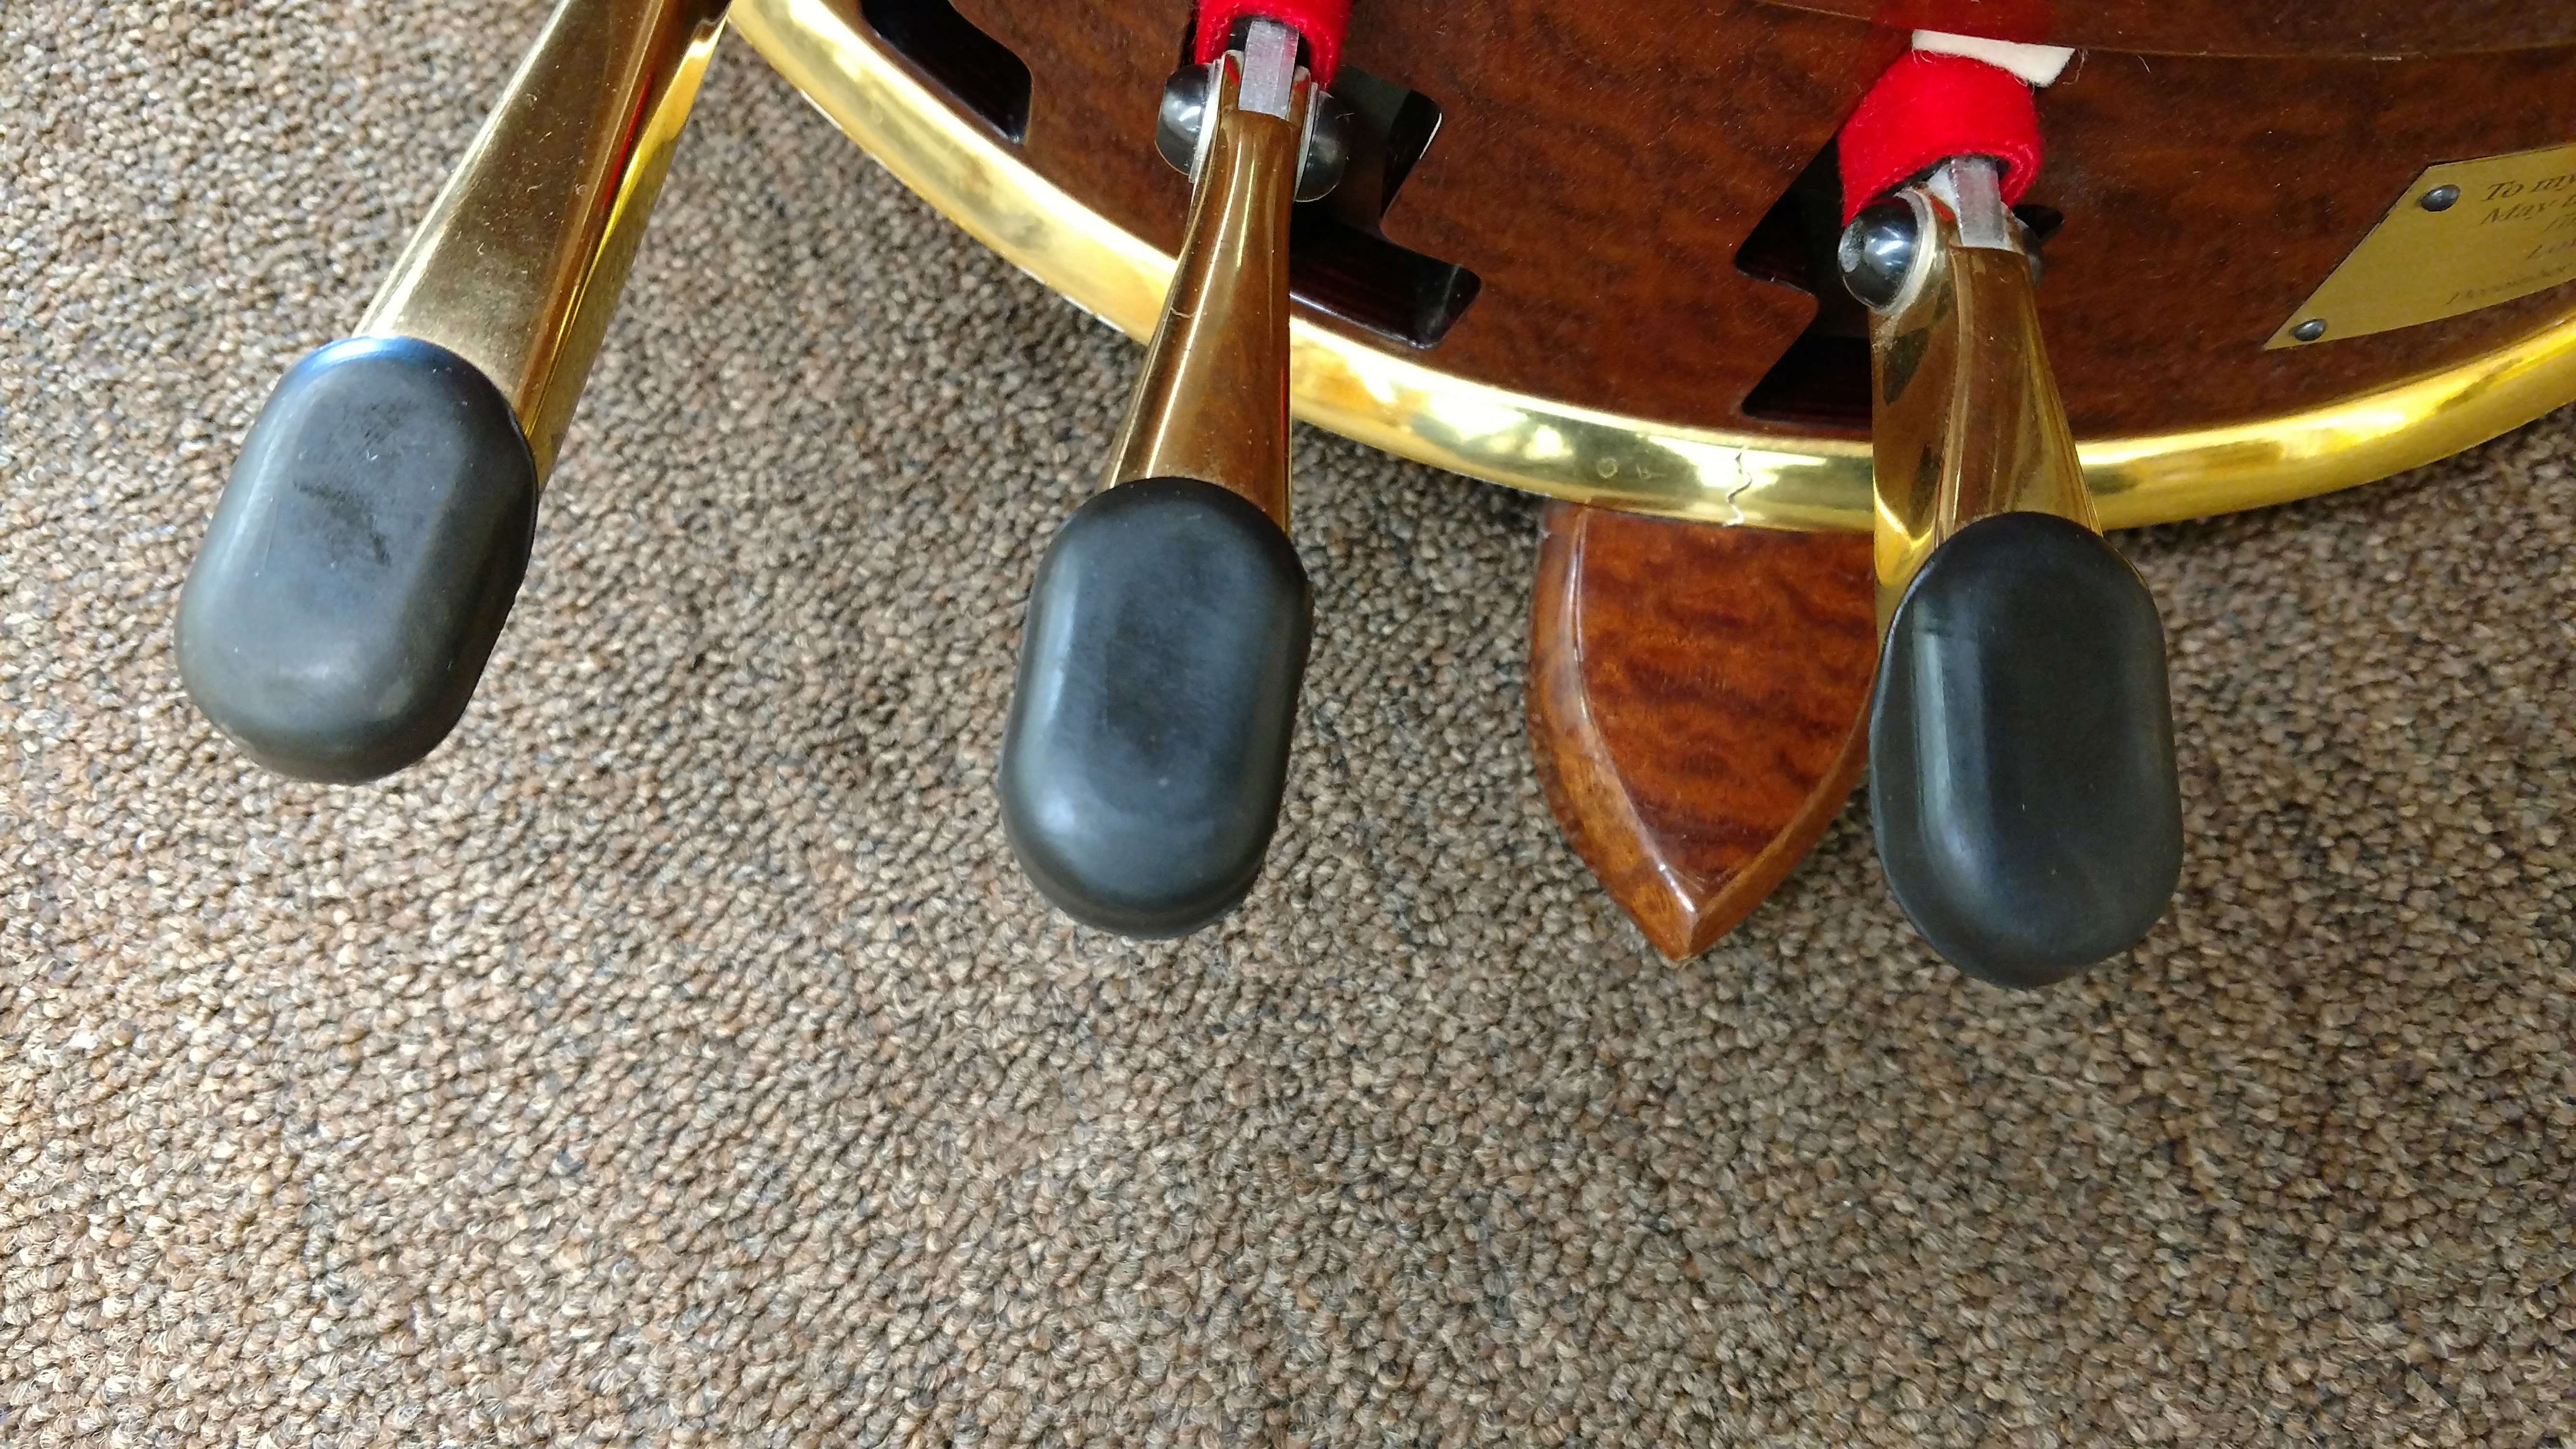
Screw-on pedal caps are the most commonly found type.
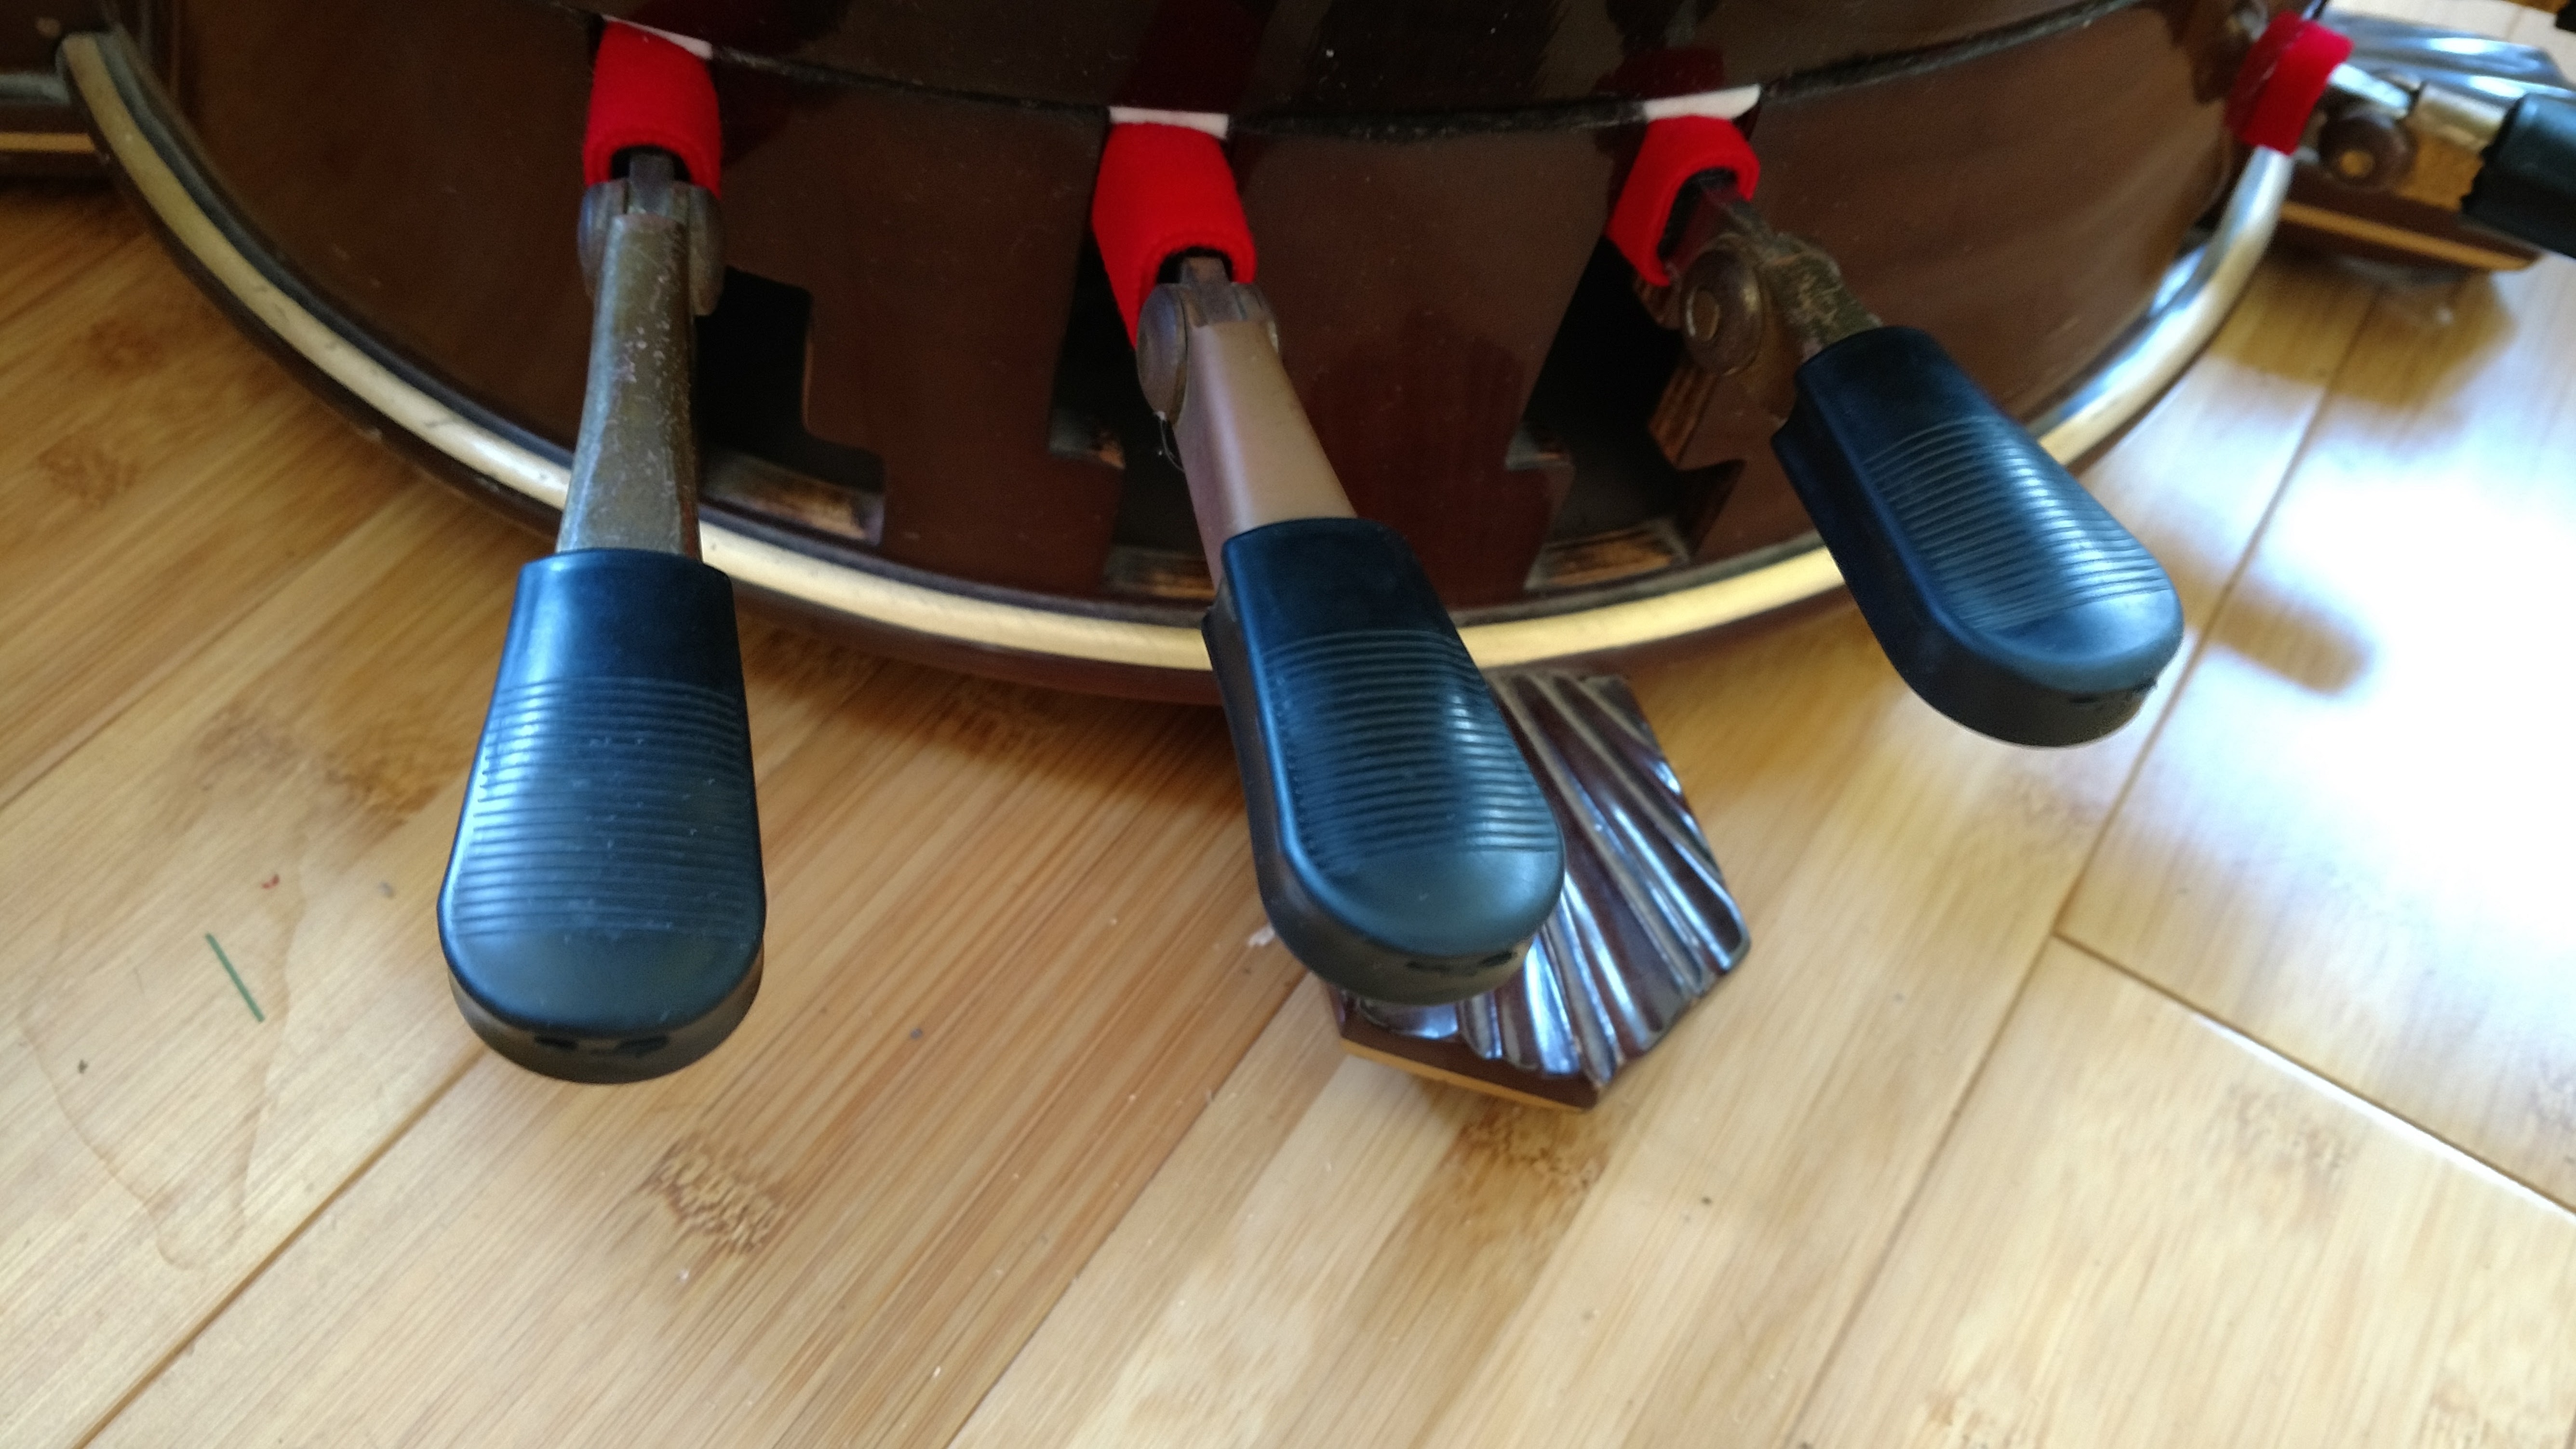
Slip-on pedal caps on a Venus Prodigy.
Replacing Screw-on Caps
To replace screw-on caps, you need to get access to the underside of the pedal. You can crouch down and flip the pedals up like you do when moving the harp. For easier access, you may also want to lay the harp on the floor so that the bottoms of the pedals will face up, or even elevate the harp by laying it down on a bed. To remove the old caps, unscrew the screw with a flat head screwdriver. The screw is very short, so it will only take a few turns. The new pedal caps should come with new screws, but if not you can reuse the old ones. Once the old cap is removed, fit a new one into place. It’s a little tricky to line up the cap’s screw hole with the hole in the pedal. It takes a little pressure from your hand to line them up. Once you do, screw the new cap back on and you’re done.

The pedal cap screw is located underneath the pedal brass.
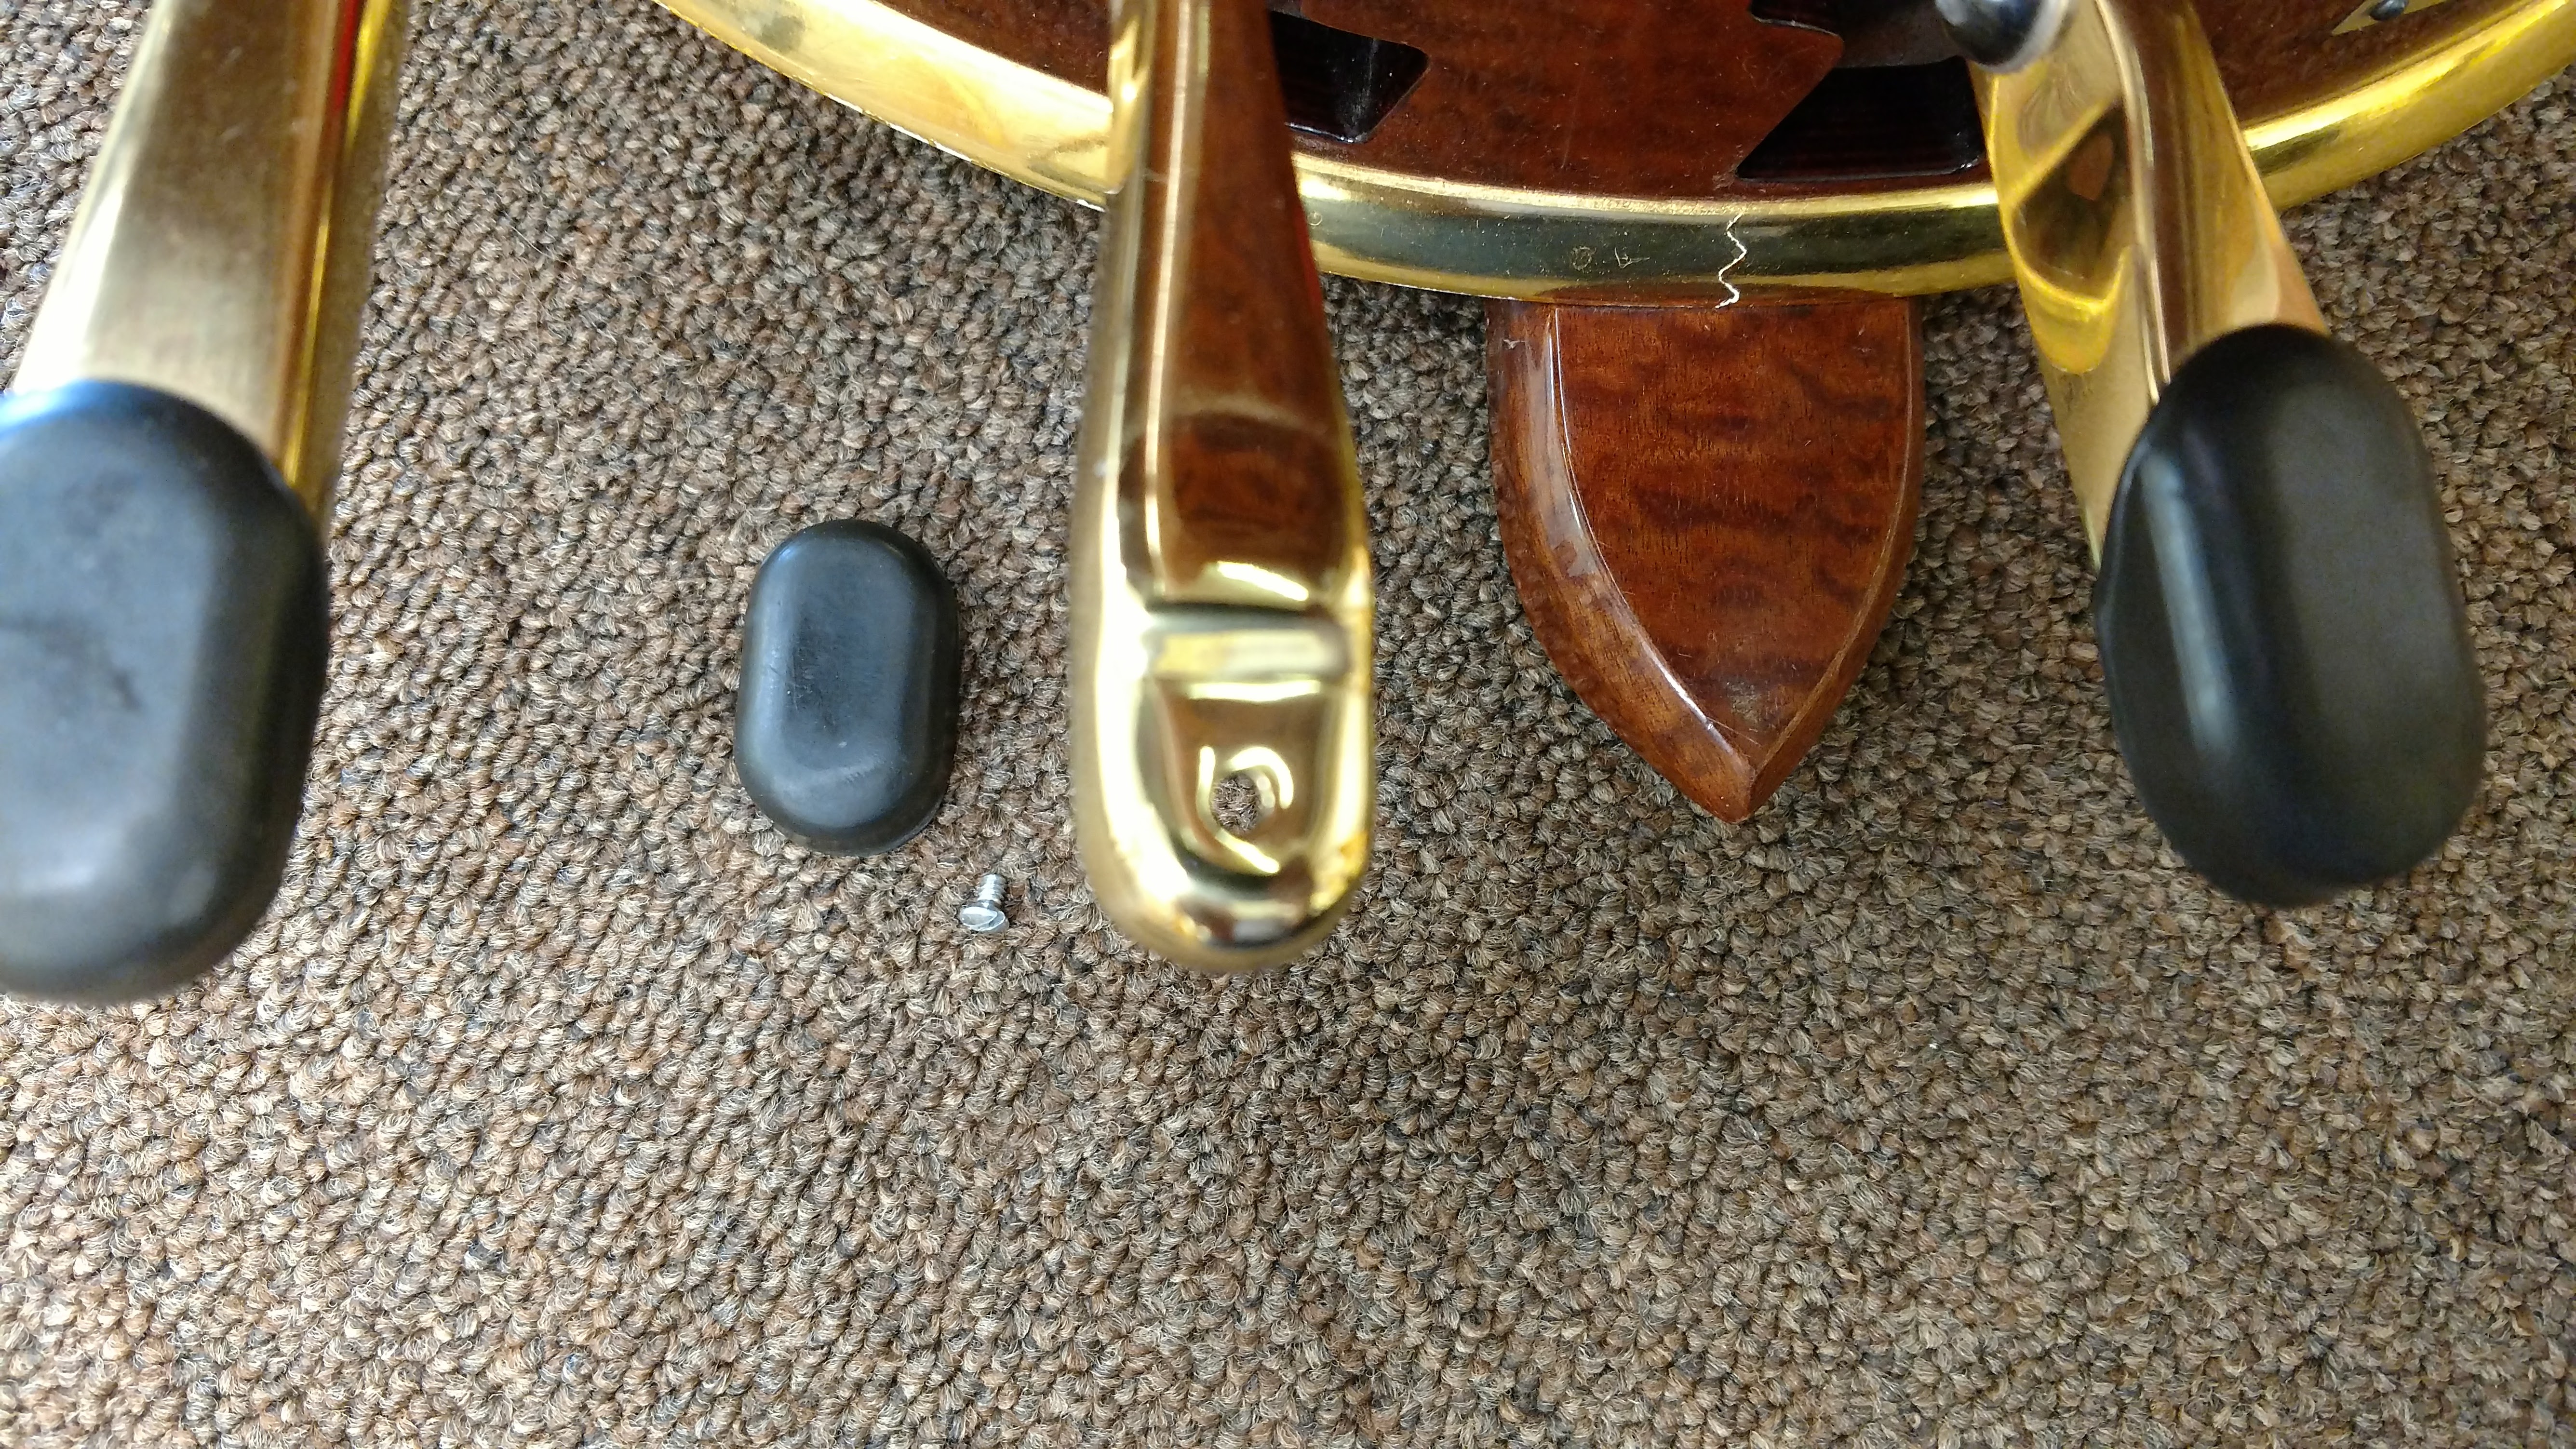
Pedal brass with screw-on cap removed.
Replacing Slip-on Caps
Old slip-ons can sometimes be pulled right off, especially if they are cracked or split. If you have trouble, you can grab them with a pair of pliers and pull them off, but be careful not to damage the underlying brass of the pedal. Once the old ones are off, you may be able to push the new ones right on, but if they feel too tight, add a small amount of lubrication, such as 3 in 1 oil, to the mouth of the cap. That will get it started stretching over the widest part of the pedal. Be careful not to use too much oil, though, because a cap that goes on too easily can also slide right back off.
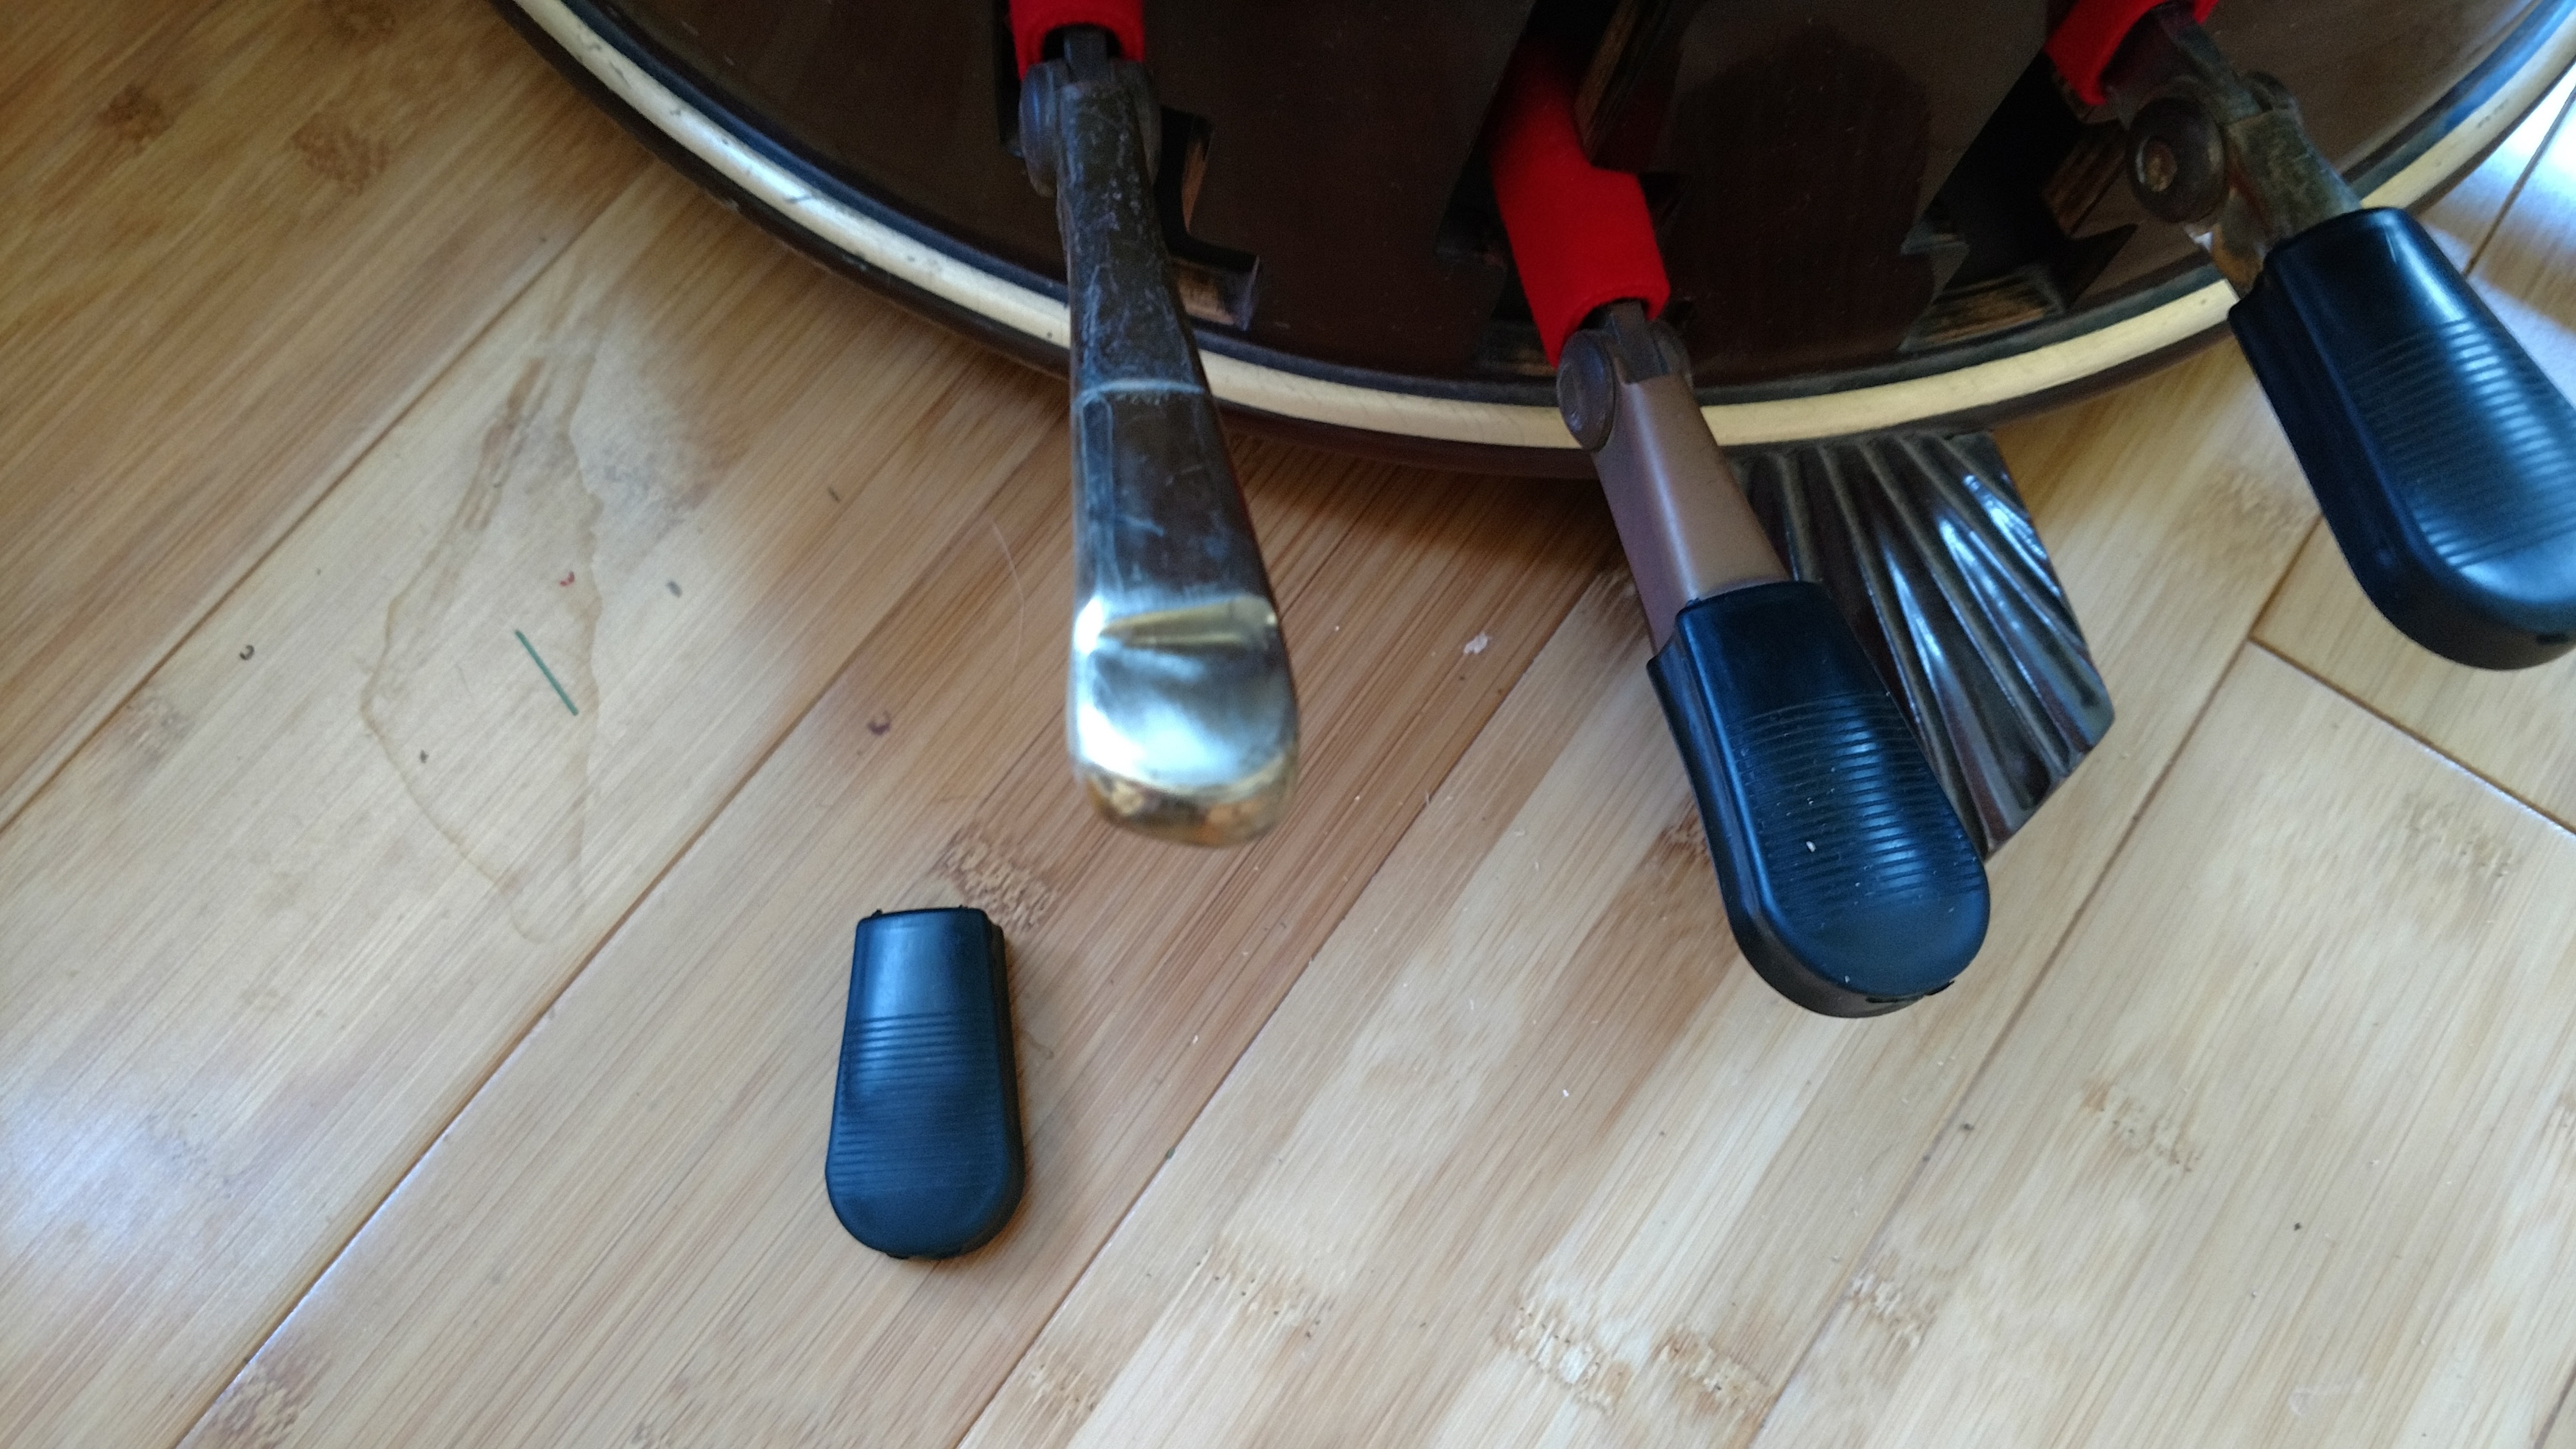
Slip-on caps are pulled off to remove and pushed on to install. A drop or two of oil may help if the cap is tight.
That’s all there is to it. Now you can get back to making some music. Cheers!
Want to get great articles like this delivered to your email inbox? Join the mailing list now!
0 Comments